


It’s safe to say that here at Pinhole Press, we’ve made a few photo books in our day. Learn from our collective 20+ years of photo experience to see how easily and quickly you can make the best photo books to remember your travels.
The best time to make a travel photo book is as soon as you get home. As time passes, you may not remember the little nuances or exact locations from your trips. Don’t let newly made memories get lost in your smartphone camera roll – bring them to life in a photo book.

Step by step guide for making a travel photo book
Step 1: Sign in to Pinhole Press
Login or create a Pinhole Press account, if you don’t already have one. Doing so will allow your work to be saved as you go so that you can easily return to where you left off in case you or your connection gets interrupted. Our photo book builder auto-saves with each edit you make to your photo book, and there is also a manual option to save as you go.
Step 2: Organize your Photos
Clean up and prioritize your travel photos so that you know which ones must be included in your photo book. (Here are some tips on how to organize photos on your phone.) This is a huge time-saving step because knowing how many photos that you want to include will help you pick out the right photo book. For example, the Softcover Square Layflat Photo Book can hold up to 50 pages of photos but the Hardcover Square Layflat Photo Book can hold up to 90 pages.

Step 3: Select your Photo Album
We offer a few collections of photo books including hardcover and softcover bound, as well ones made specifically for kids. In addition to the number of photos that you want to include, the nature of your travels may help dictate what photo book you select.
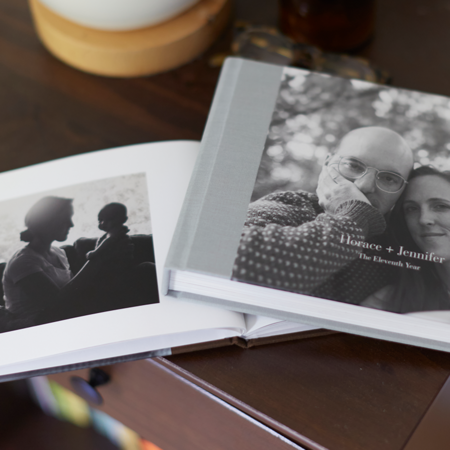
For example, I gravitate toward the Softcover Petite Layflat Photo Book for trips that are more casual or happen in regularity.

It’s the perfect size (5”x5”) and price point ($14.99) to remember weekend jaunts, or to build a collection of photo books, one from each annual family trip. For trips to new places or a once-in-a-lifetime trip, I prefer a larger photo book. These happenings come far and few between, so I don’t want to forget a detail.
Step 4: Build your Photo Book
At this stage, we have two options for you: Manual Upload or Auto-Build. With manual upload, you’ll start with a blank photo book, then drag and drop your photos into page templates. Our photo book builder allows you to edit the text, number of pages, as well as the page template.
With auto-build, we essentially do the legwork for you; You upload your photos in one batch, which are then auto-populated into page templates based on the sizes and orientation (horizontal vs. vertical) of your photos. If you select this option, you can still edit your photo book to make it just as you’d like it. For example, page templates can be easily changed if you would prefer to add text beneath a photo or want to regroup certain photos together.
Step 5: Review your Photo Book
Before your photo book goes to print, someone from our team will review it. However, we won’t know if your favorite photo somehow didn’t make the cut. Just to play it safe, give your photo book a once over before adding it to your cart and checking out.
Step 6: Get Excited
Your new photo book is on its way! We hope that it transports you right back to your travels as you flip through, page by page. If for any reason your travel photo book doesn’t make you smile, let us know and we’ll make it right – Pinhole Press smiles are 100% guaranteed.