


Ever since my kids were born, my camera has become like my best friend. I go back and forth between snapping photos with my phone and picking up my “big” camera all the time. Taking photos is a passion to me personally, but mostly, I take pictures to freeze our memories and moments in time. The days sometimes feel so darn long, but the years surely are short. Capturing and recording our everyday is a gift I give to not only myself, but also my family.
When my computer hard drive started looking quite full several years ago, I made a decision to get my photos off of my computer and into something tangible. Something that could be picked up and enjoyed. Something that would help us reminisce about those big moments and also to help us remember even the smallest of details of our life. Photo books were the perfect solution.

Creating a photo book may seem like an overwhelming process (especially when you have years worth of photos sitting on your hard drive), but by following these five easy steps, you can get started and have a book of your memories in your hands in no time!

5 Tips to Create a Photo Book:
1. Start with a plan.
What type of book do you want to create? Are you doing a recap of the year? A holiday album? A birthday book? An album of your vacation? Start by deciding what you want to document!
2. Organize your photos.
Now that you know what type of book you want to create, go through your photos and copy the photos you want to include in your album to a new folder. I find that sorting through all of my photos at the beginning and grouping the photos I want to use in my album makes the process so much faster and easier. Once the photos are uploaded to Pinhole Press, I then delete the “copied” folder since these photos still remain on my hard drive in their original folder.
3. Begin uploading your photos.
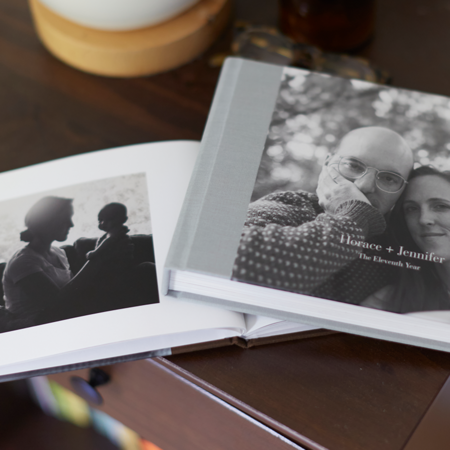
Select your photo book of choice and start upload your photos to the site. My favorite Pinhole Press album is the Panoramic Photo Book. I love the quality of the photos, the weight of the pages and the amazing lay flat feature.
4. Work in batches.
At this point in the process, I try to work in batches if I have a lot of photos for my album. While I would love to be able to sit and complete the entire book in one setting, I find that it’s easier for me to organize my album and tell our story if I work with 10-15 photos at a time. If I’m creating an album over a span of time (for instance, a year in review album), I typically try to work on my album throughout the year rather than completing it all at the end of the year.
5. Get creative!
This is always my favorite part of the book! After I have my initial photos uploaded, I like to go back through the album and add in little elements of creativity. The Panoramic Photo Book offers unique options including columns of text, which I feel is perfect for stories, quotes and those little details of the everyday. Once you’ve added in those fun extras, your book is all ready to be printed and enjoyed!
Tips from Stephanie from Stephanine Makes